DocsConnect an integration
Connect a file server
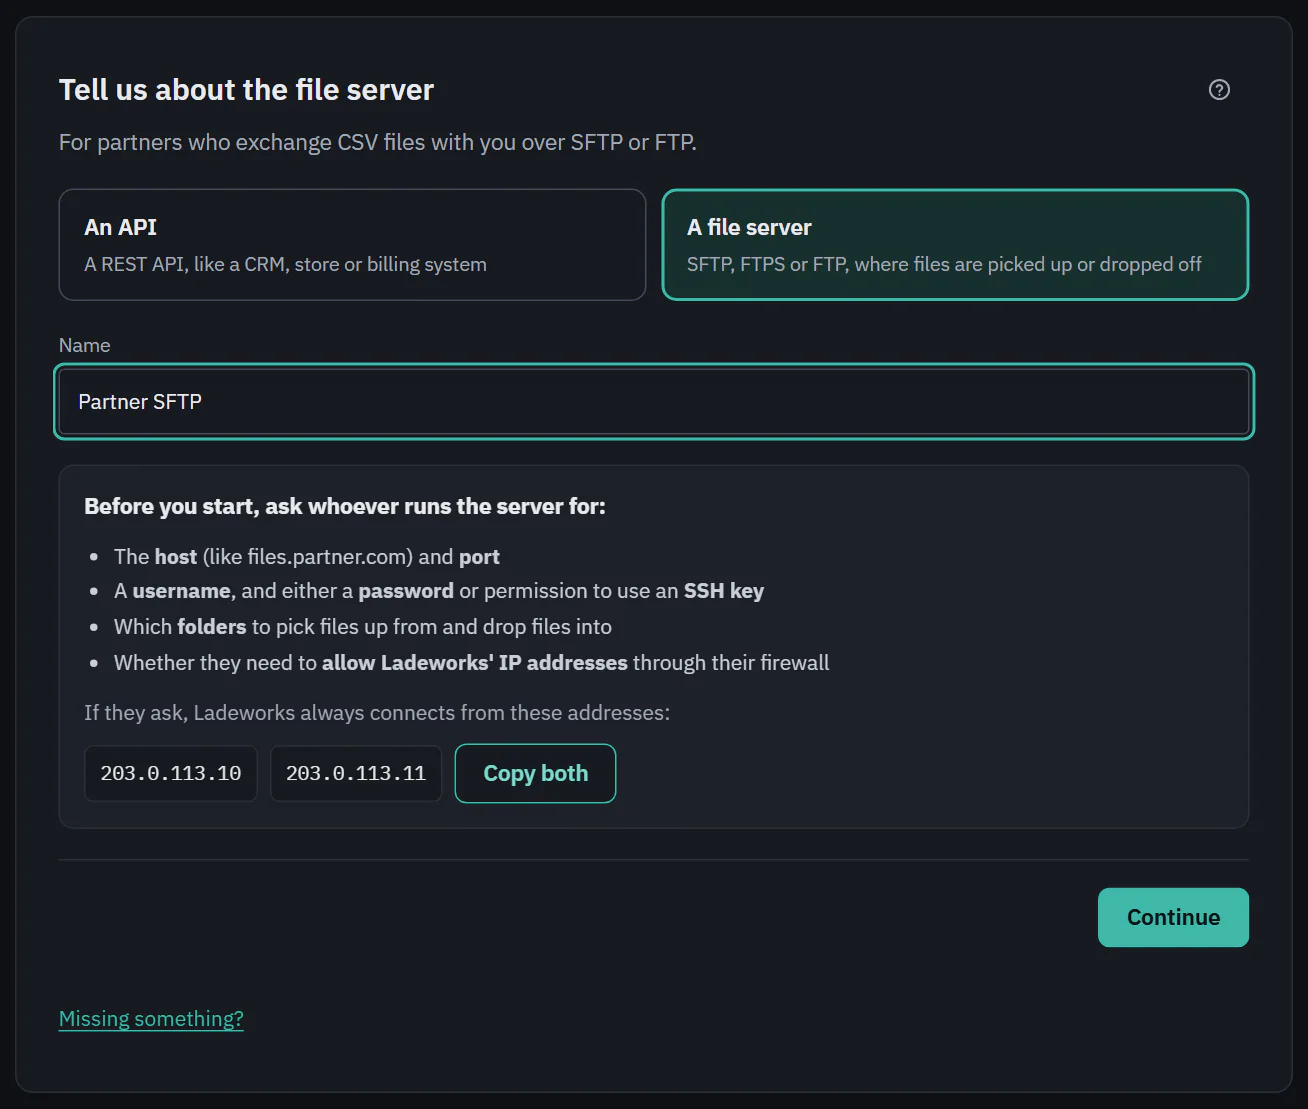
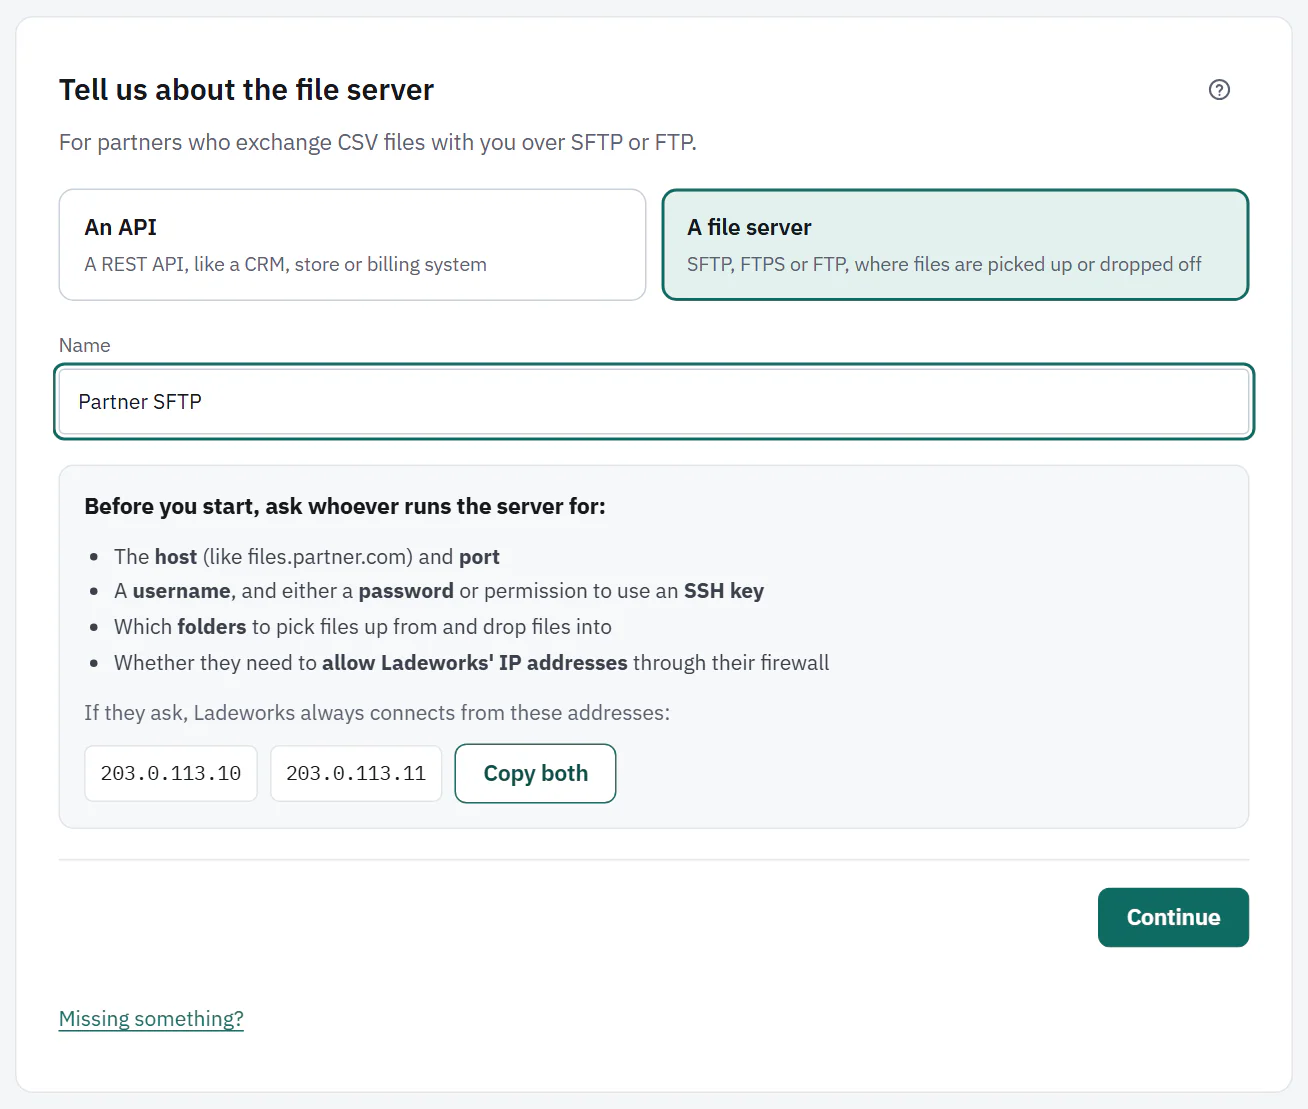
A file server integration lets workflows pick up files that partners leave for you and drop off files for them to collect. Choose A file server in step 1 and give it a name.
File servers are available on some plans only. On Starter, Pro and Business.
What to have ready
Step 1 lists what to ask whoever runs the server for:
- The host (like files.partner.com) and port.
- A username, and either a password or permission to use an SSH key.
- Which folders to pick files up from and drop files into.
- Whether they need to allow Ladeworks' IP addresses through their firewall.
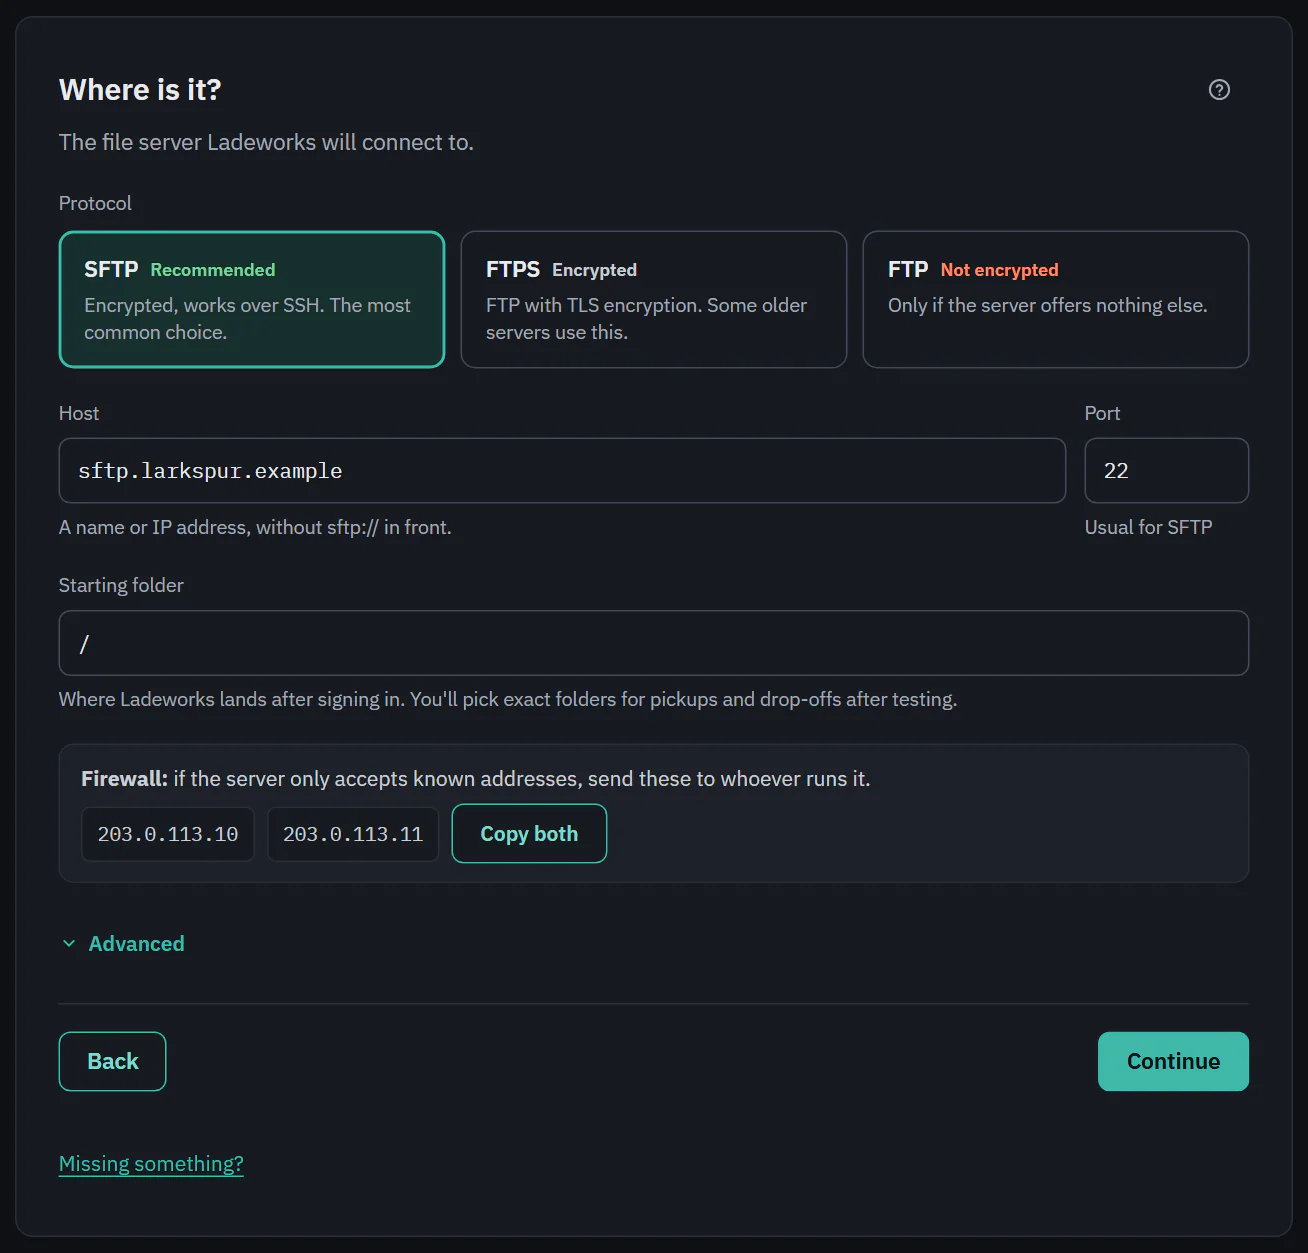
Ladeworks always connects from the same small set of addresses. Step 1 shows them with a Copy both button, and step 2 shows them again under "Firewall". Send them to the server owner if the server only accepts known addresses.
 (opens the full size image in a new tab)
 (opens the full size image in a new tab)
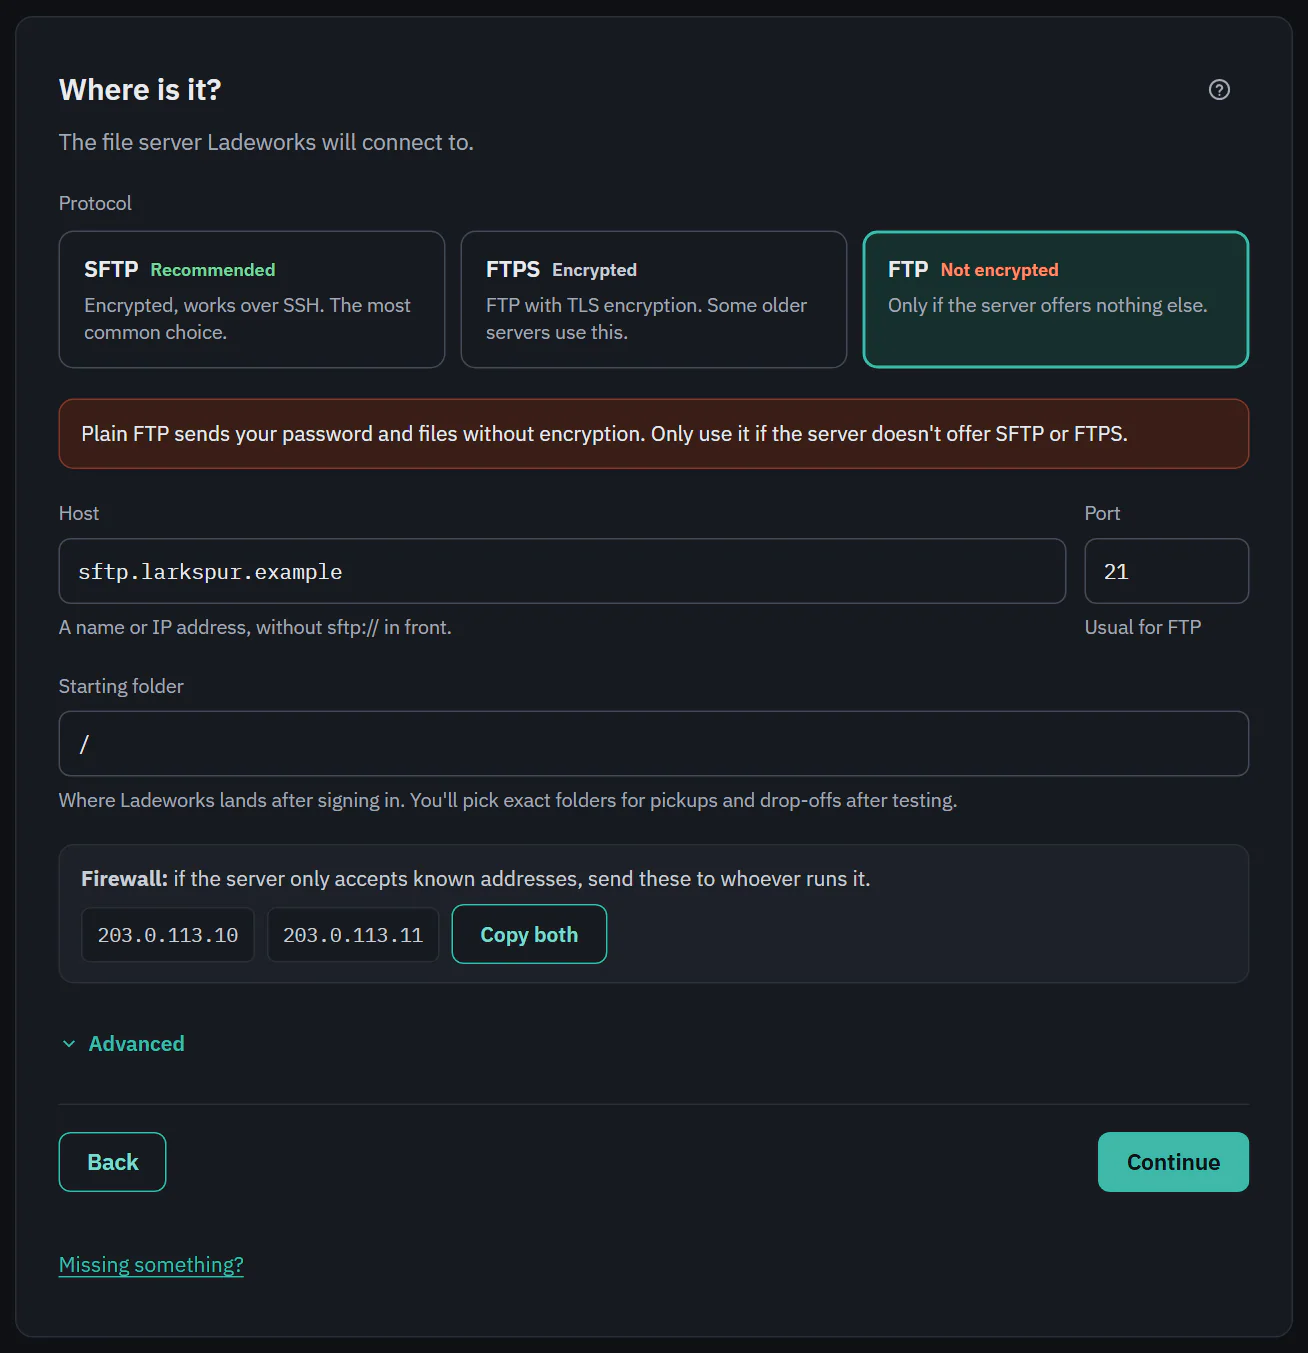
Step 2: protocol, host and folder
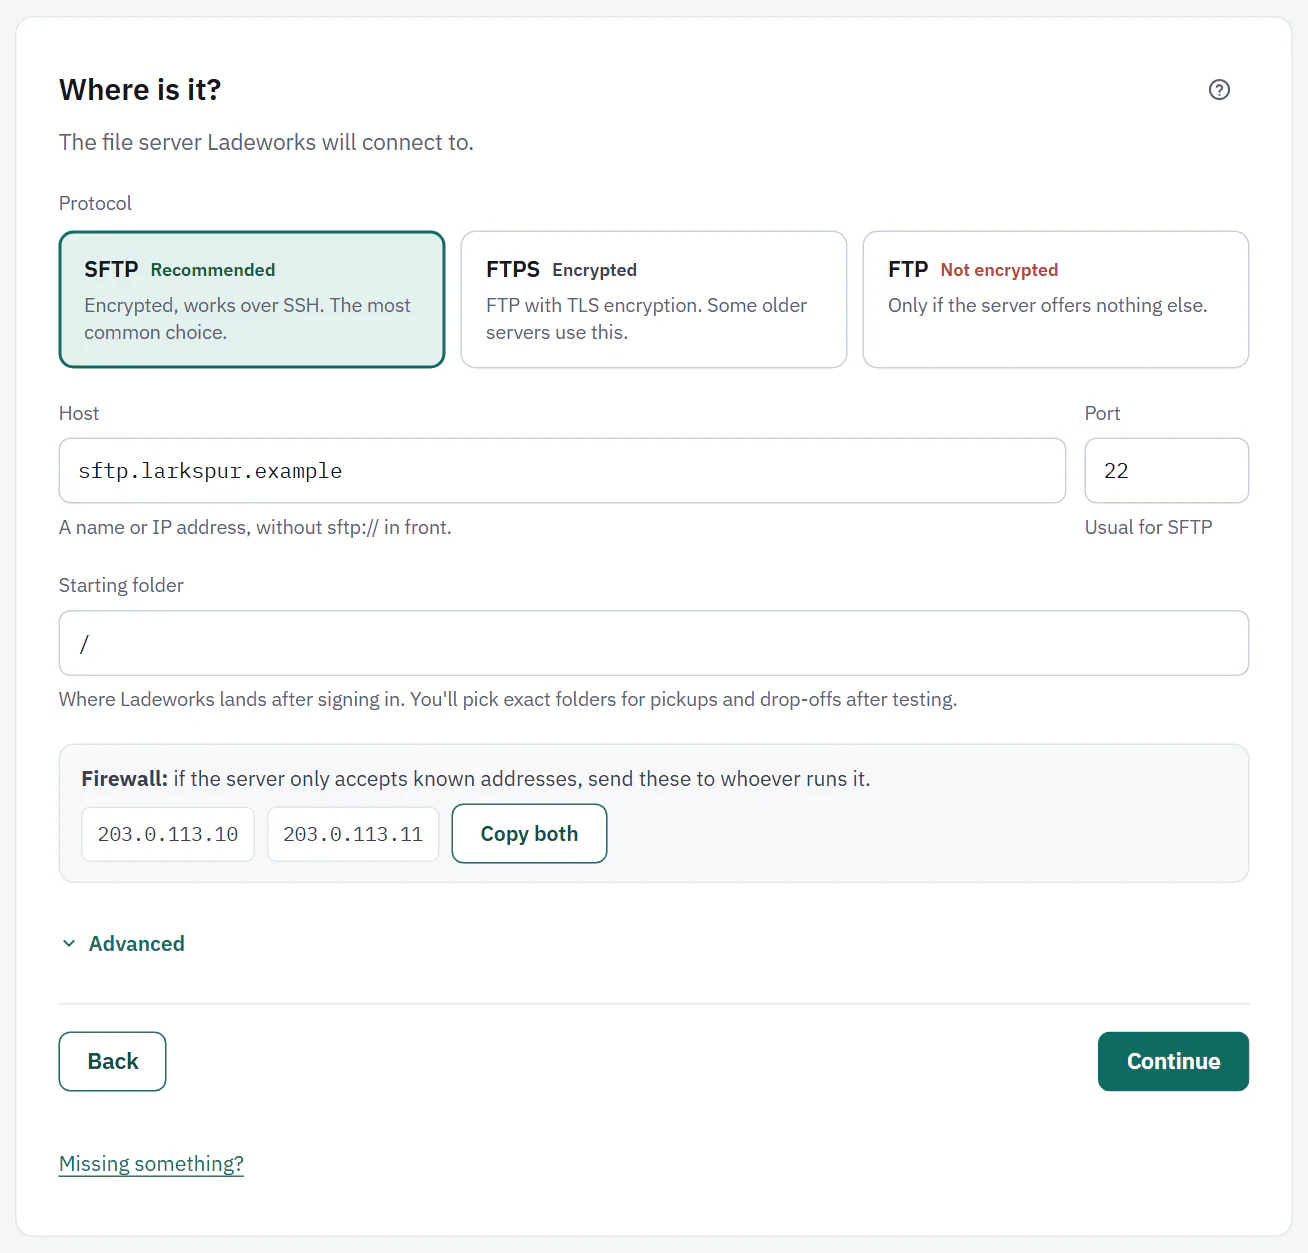
- Protocol. SFTP is recommended: encrypted, works over SSH, and the most common choice. FTPS is FTP with TLS encryption, which some older servers use. FTP is not encrypted. Only use it if the server offers nothing else.
- Host is a name or IP address, without sftp:// in front.
- Port fills in the usual one for the protocol, and you can change it.
- Starting folder is where Ladeworks lands after signing in. You pick exact folders for pick ups and drop offs after testing.
- Advanced holds the Timeout per request.
 (opens the full size image in a new tab)
 (opens the full size image in a new tab)
Plain FTP is not encrypted
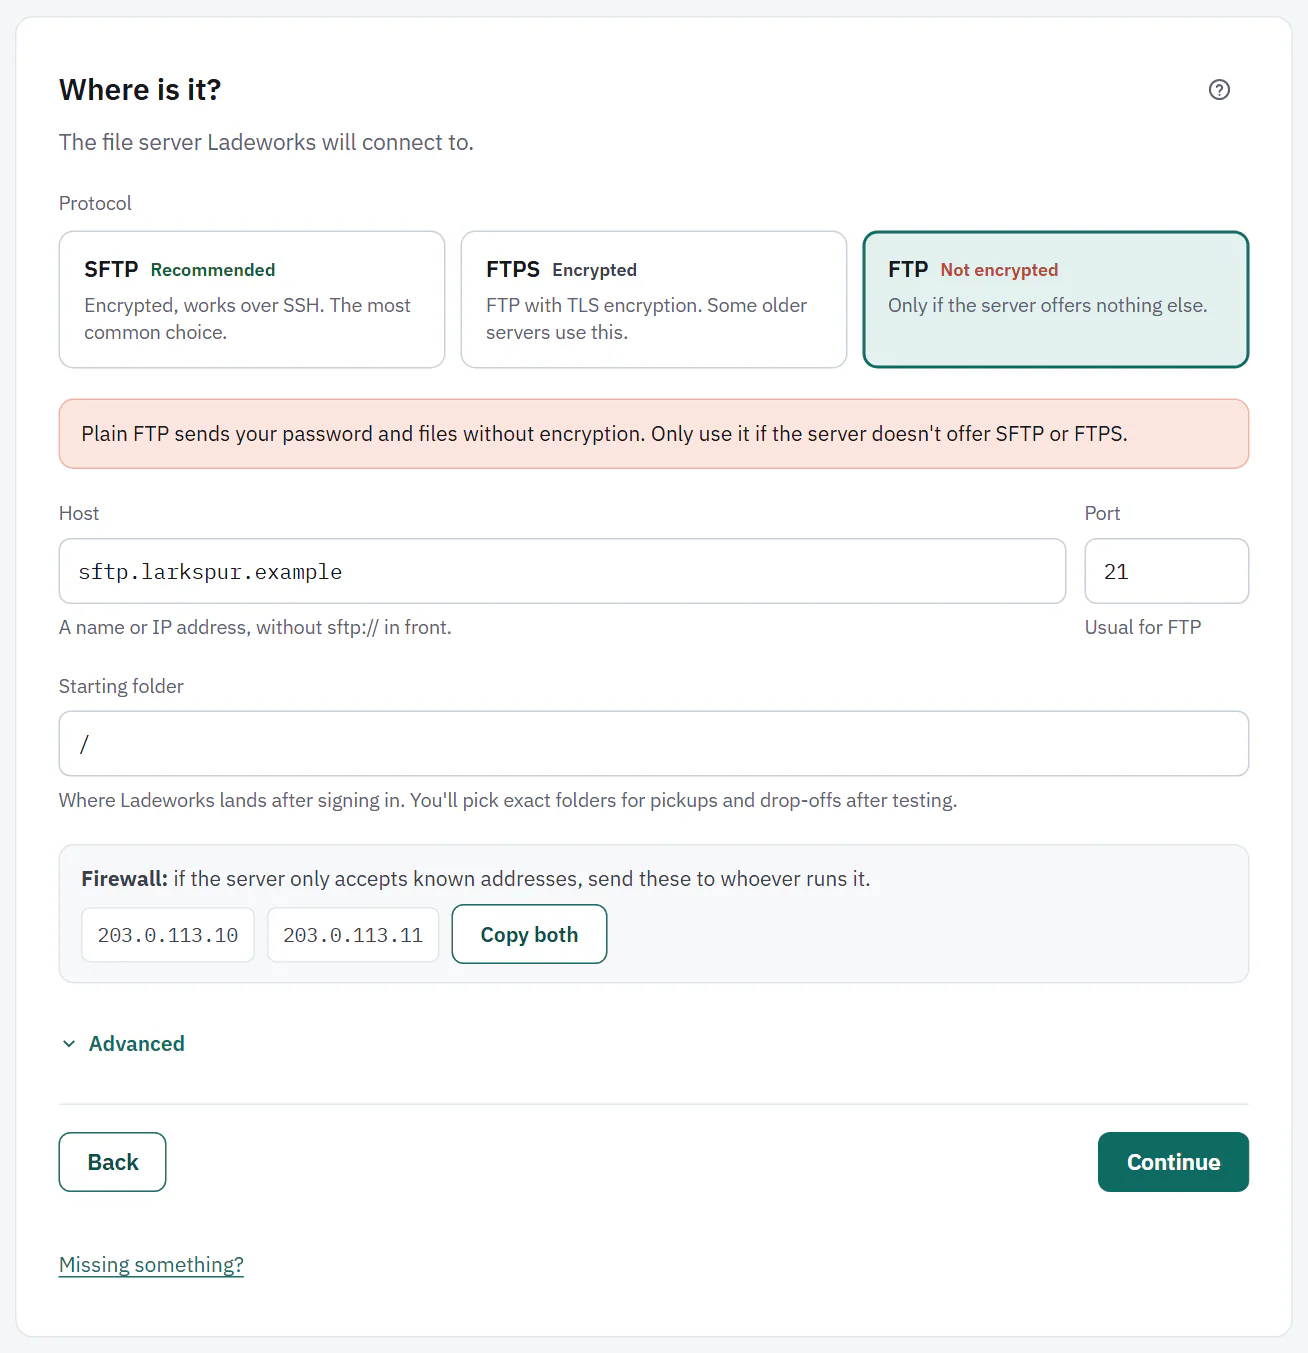
Choosing FTP shows a warning: "Plain FTP sends your password and files without encryption. Only use it if the server doesn't offer SFTP or FTPS."
 (opens the full size image in a new tab)
 (opens the full size image in a new tab)
FTPS and encryption
FTPS has a switch, Start encrypted (implicit TLS). Most FTPS servers switch to encryption after connecting, on port 21. Turn it on only if the server expects encryption from the first byte, which is usually port 990. Ladeworks turns it on by itself when you type port 990 and you have not chosen.
Changing the host, port or protocol later clears the last test and the confirmed fingerprint, and the integration reads "Not tested yet" until you test it again.
Step 3: password or SSH key
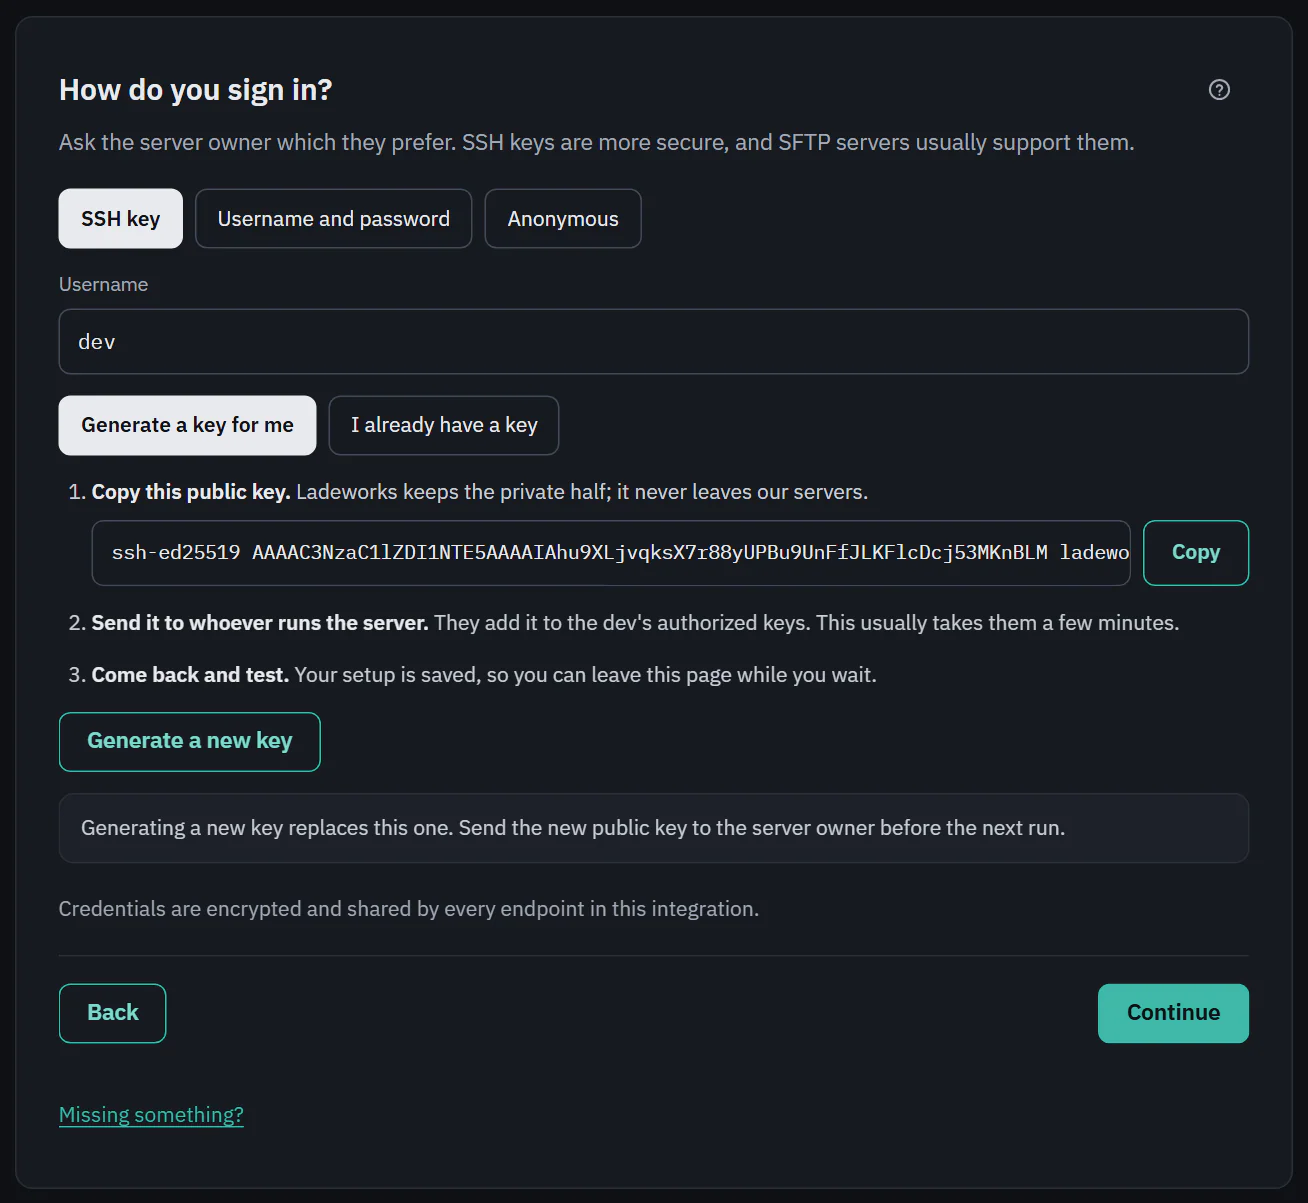
For SFTP the choices are SSH key, Username and password and Anonymous. FTP and FTPS offer Username and password and Anonymous. SSH keys are more secure, and SFTP servers usually support them.
- Username and password: enter both. The password is encrypted and shown only as its last characters afterwards.
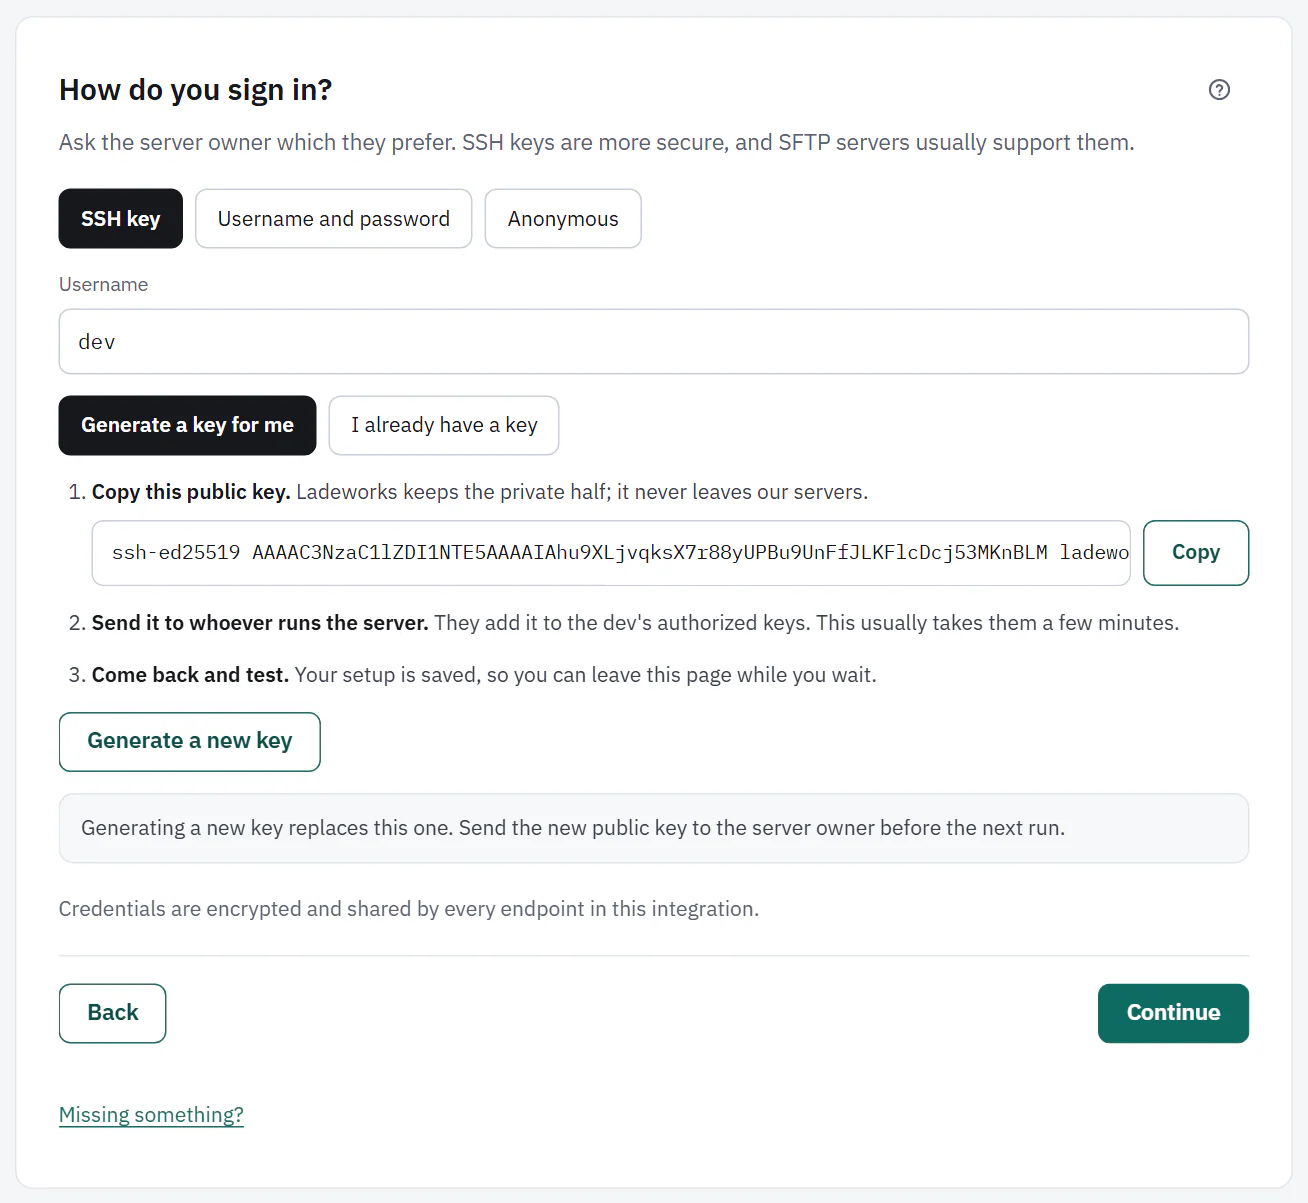
- SSH key, Generate a key for me: enter the username, then choose Generate a key. Ladeworks keeps the private half, and shows the public key. Copy it, send it to whoever runs the server so they add it to the account's authorized keys, then come back and test. Your setup is saved, so you can leave while you wait. Generate a new key replaces it, so send the new public key to the server owner before the next run.
- SSH key, I already have a key: paste the Private key and a Passphrase (only if the key has one).
- Anonymous: Ladeworks signs in anonymously.
 (opens the full size image in a new tab)
 (opens the full size image in a new tab)
Step 4: confirm the host key fingerprint
See The test step for the fingerprint check and the rest of the file server test.
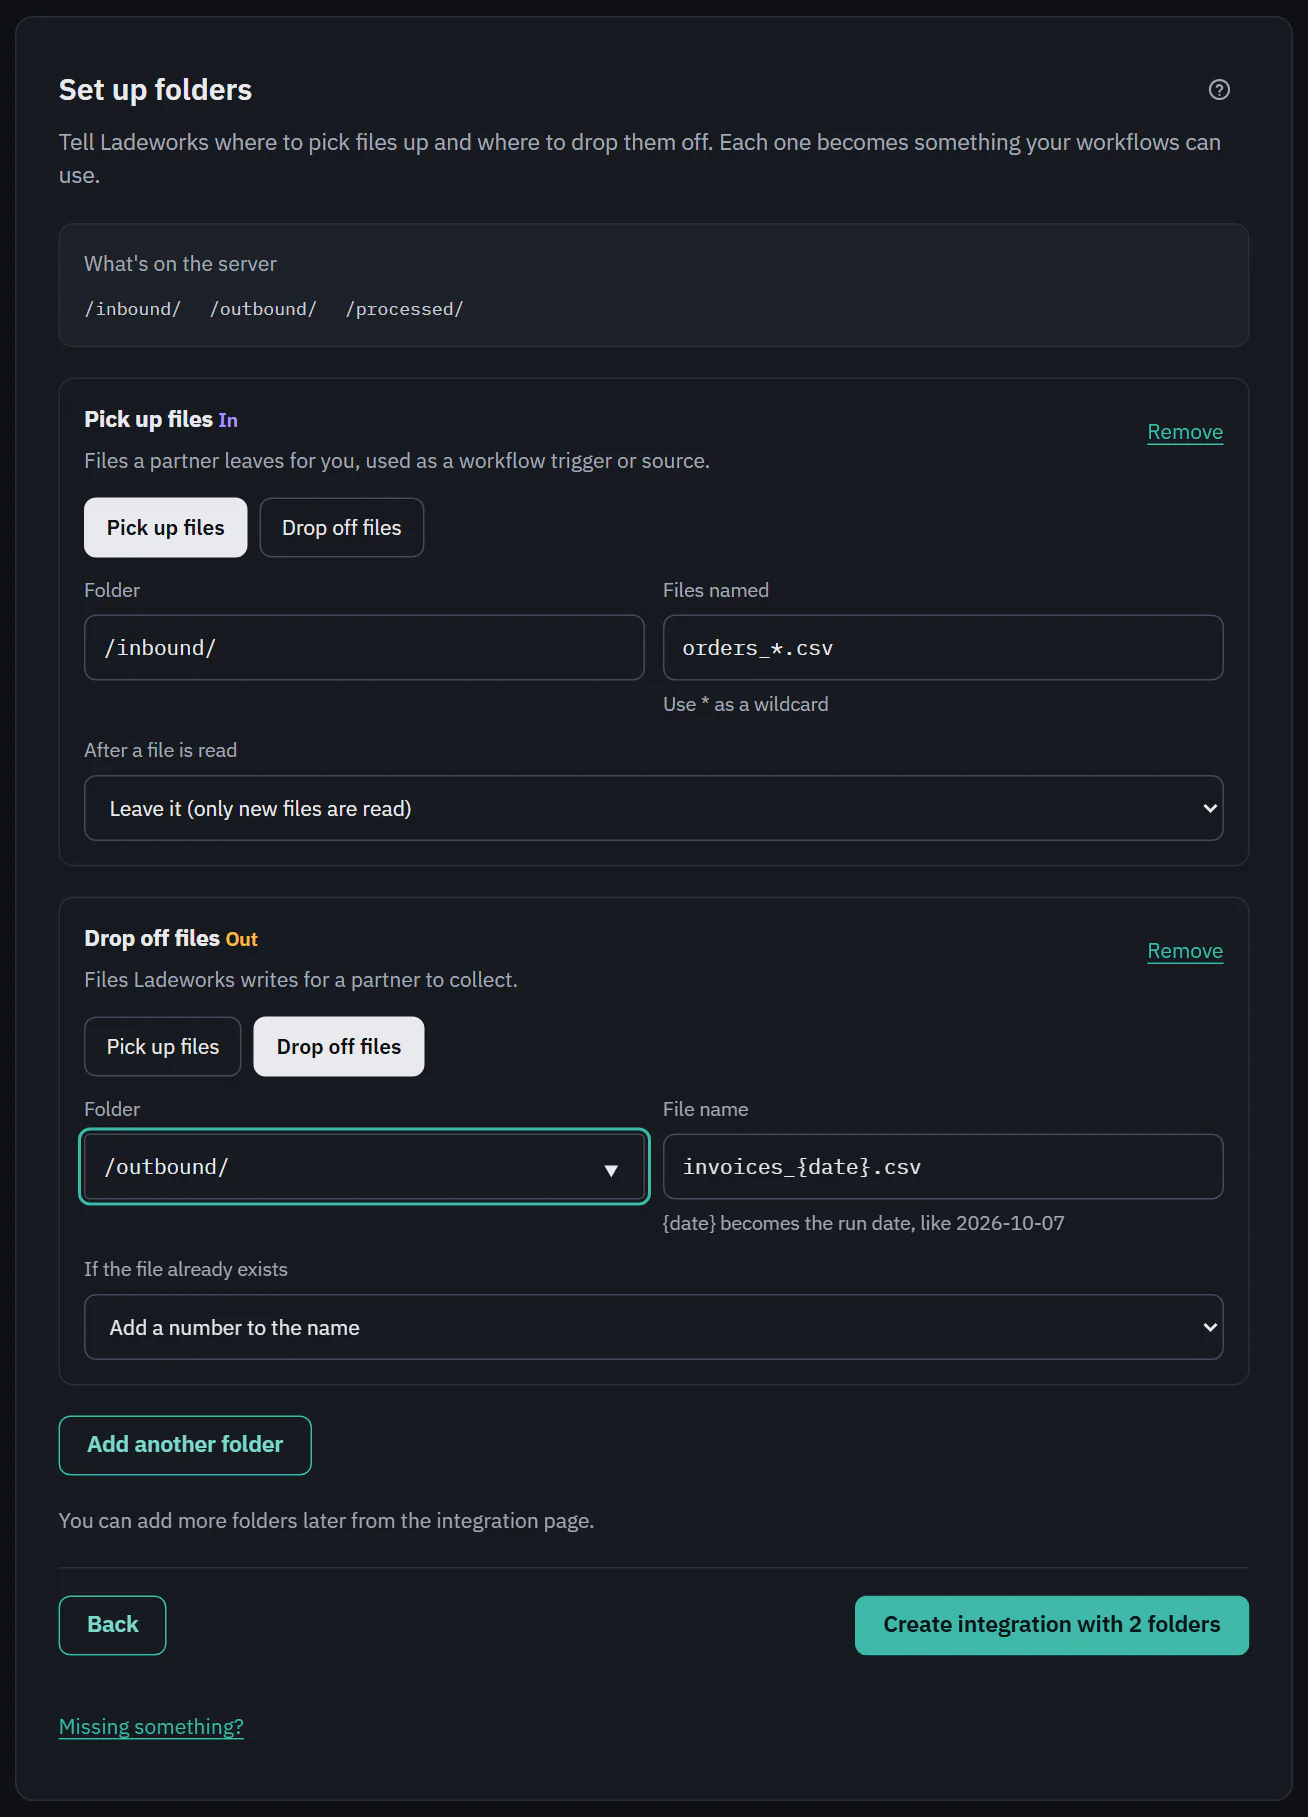
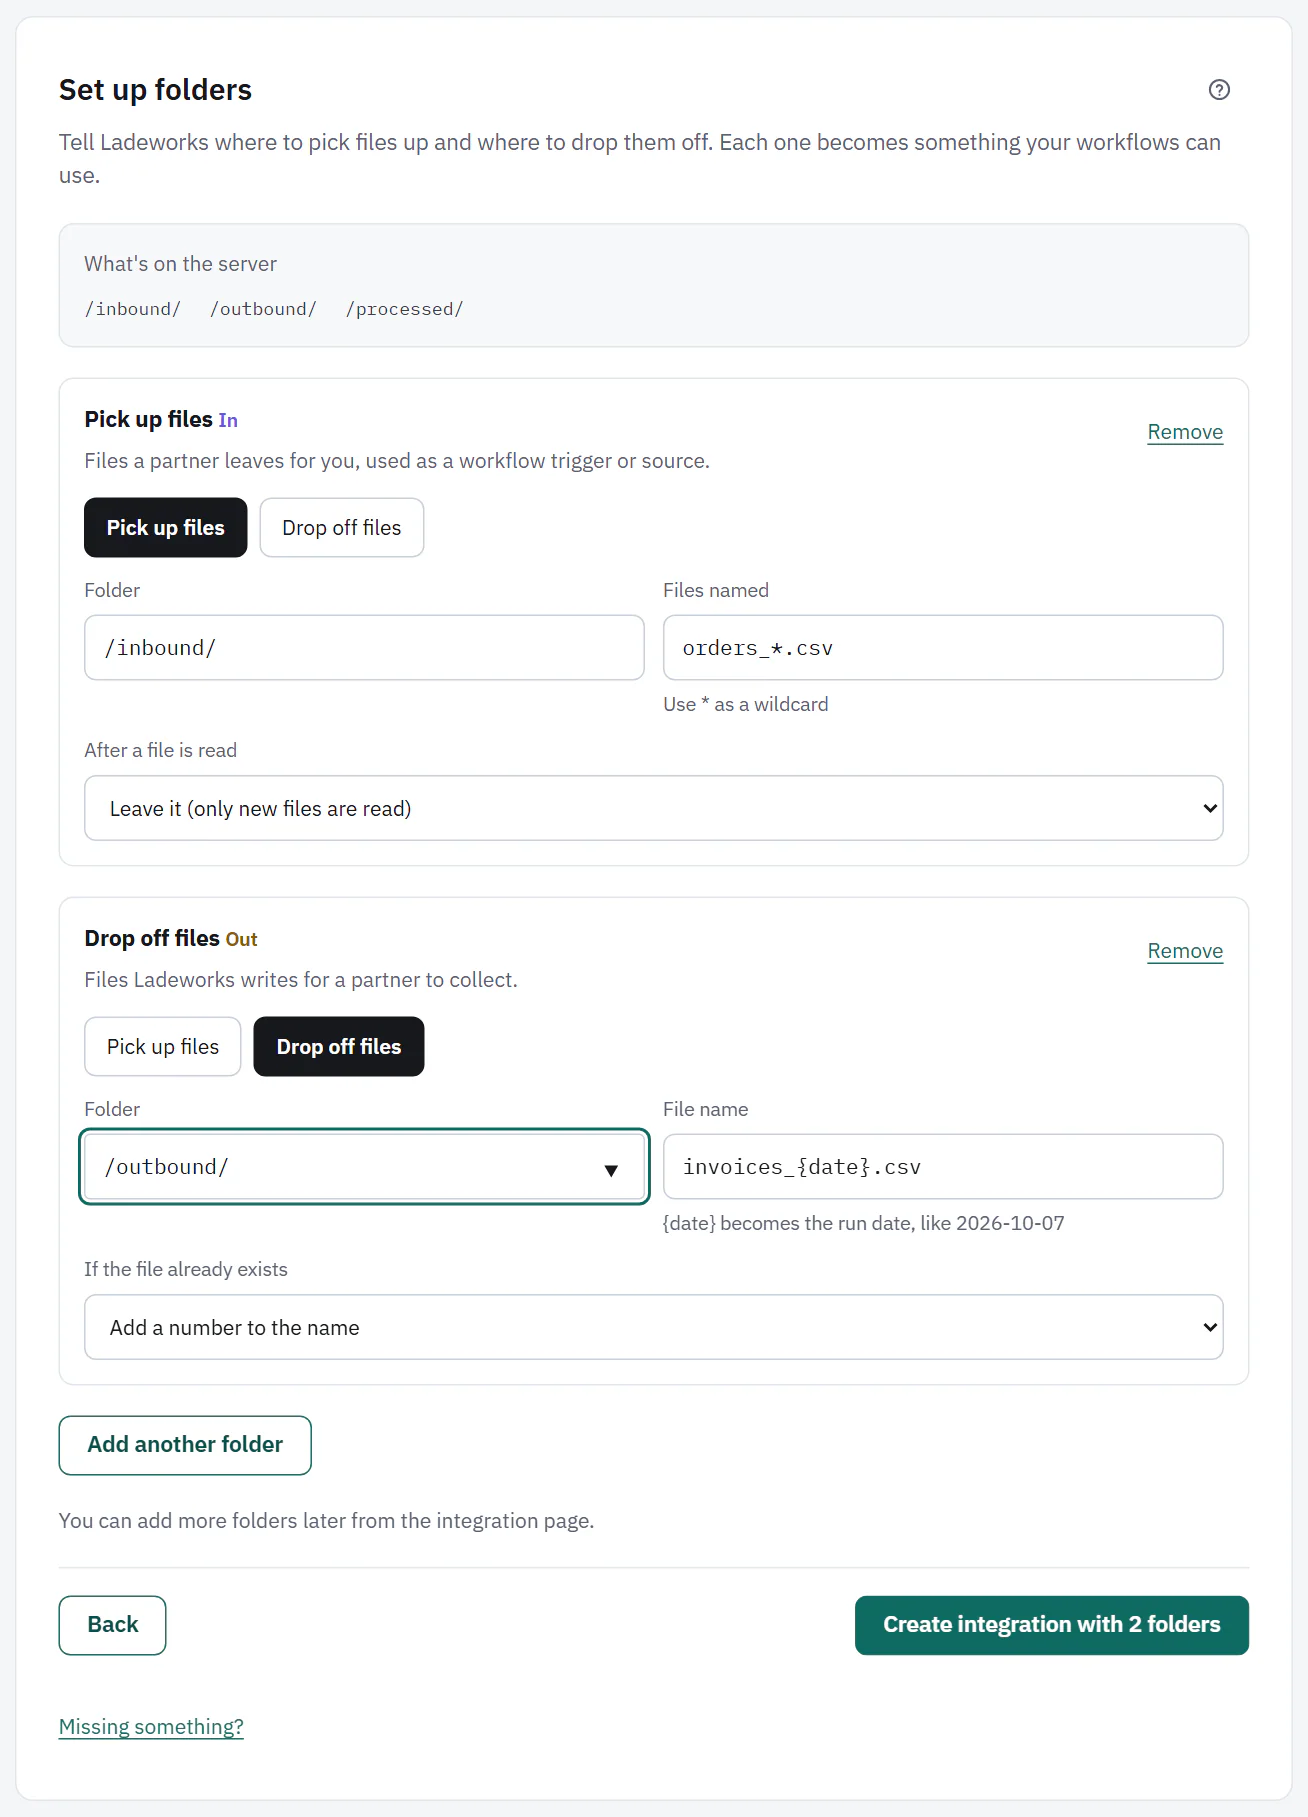
Step 5: pick up and drop off folders
After a passing test, Set up folders lists the folders Ladeworks saw on the server under "What's on the server". Each folder you add is one thing workflows can use, and is either:
- Pick up files (In): files a partner leaves for you, used as a workflow trigger or source. Set the Folder, the Files named pattern (use * as a wildcard, like orders_*.csv), and what happens After a file is read: Leave it (only new files are read), Move it to another folder (then give Move it to) or Delete it.
- Drop off files (Out): files Ladeworks writes for a partner to collect. Set the Folder, the File name ({date} becomes the run date, like 2026-10-07), and what to do If the file already exists: Add a number to the name, Replace it or Fail the step.
Add another folder adds a row and Remove drops one. You can add more later from the integration page. When you are ready, Create integration with 2 folders (the count follows your rows) finishes the setup.
 (opens the full size image in a new tab)
 (opens the full size image in a new tab)
Next: the test step.